Connecting Merchants with Publicists
Loyative connects merchants with major publishers like newspapers and magazines.
Reach millions of engaged consumers where trust already exists.
From product upload to revenue – everything flows automatically through Loyative's platform.
Trusted by Indystry Leaders
FOR MERCHANTS
Your products, featured in Sweden's most credible publications. Reach millions of engaged readers through publishers they already trust – no marketing costs, no risk.
for publishers
Your readers trust you. That trust is valuable. Loyative lets you offer them exclusive products from quality merchants – earning commission while adding value to your subscribers.
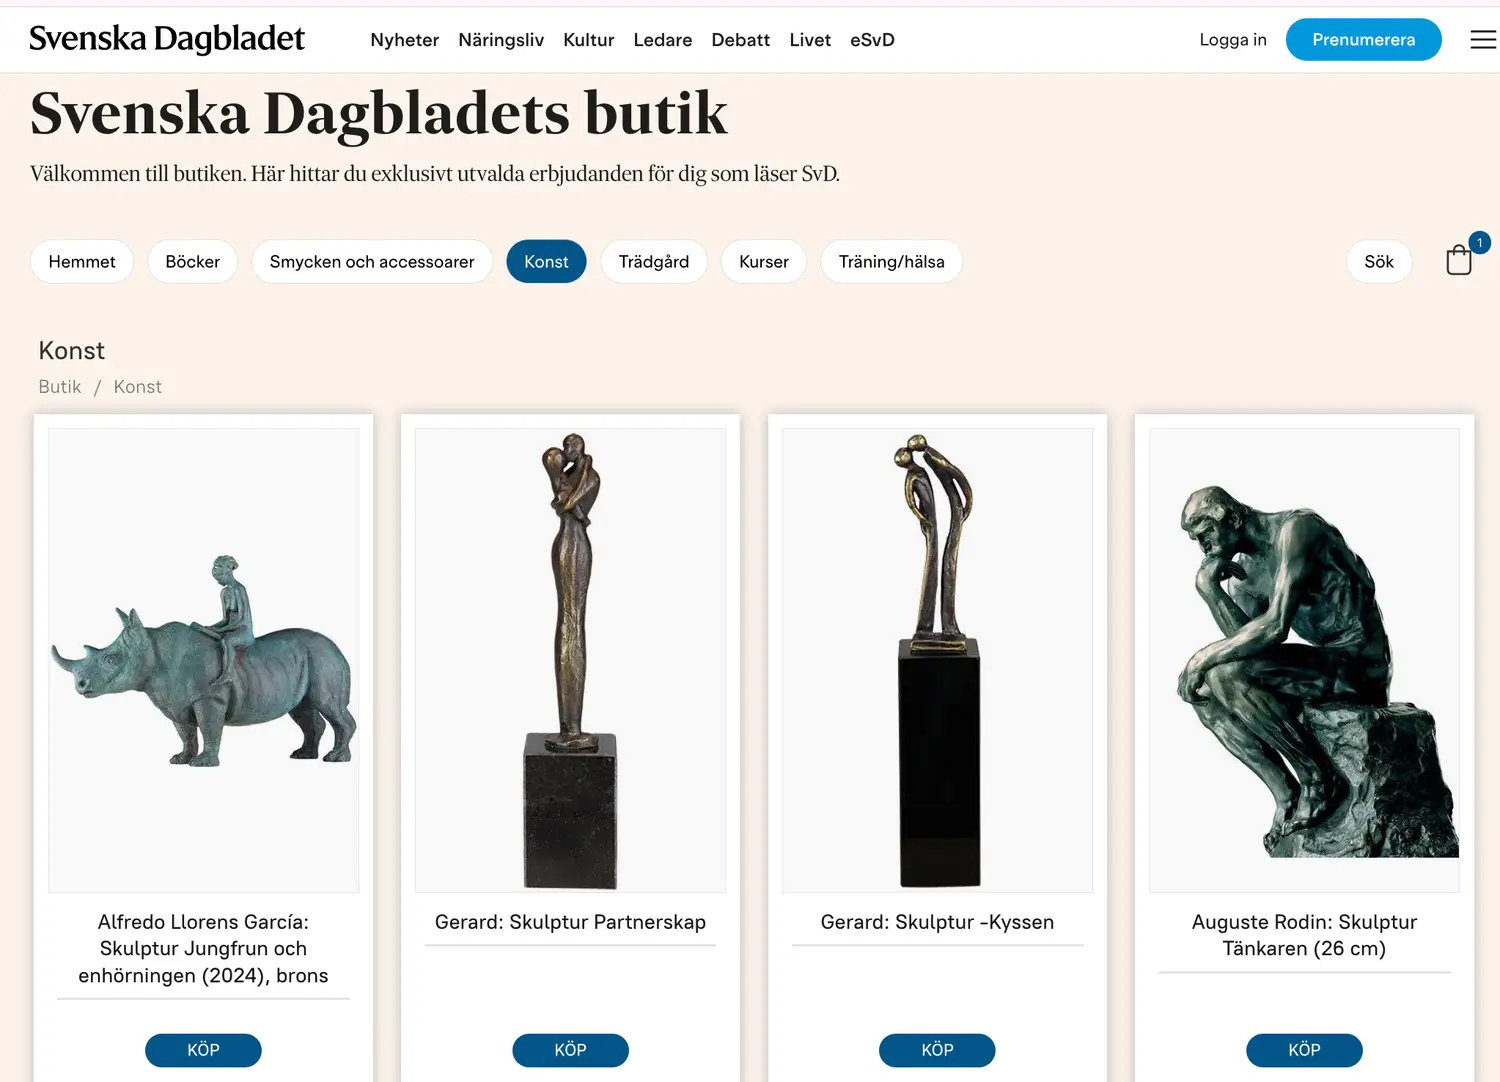
“Svenska Dagbladet is one of Sweden’s largest daily newspapers, with a wide national readership in both print and digital formats. It is well known for its coverage of news, business, politics, and culture. SvD’s online shop generates significant monthly revenue and attracts loyal customers who also subscribe to the newspaper."
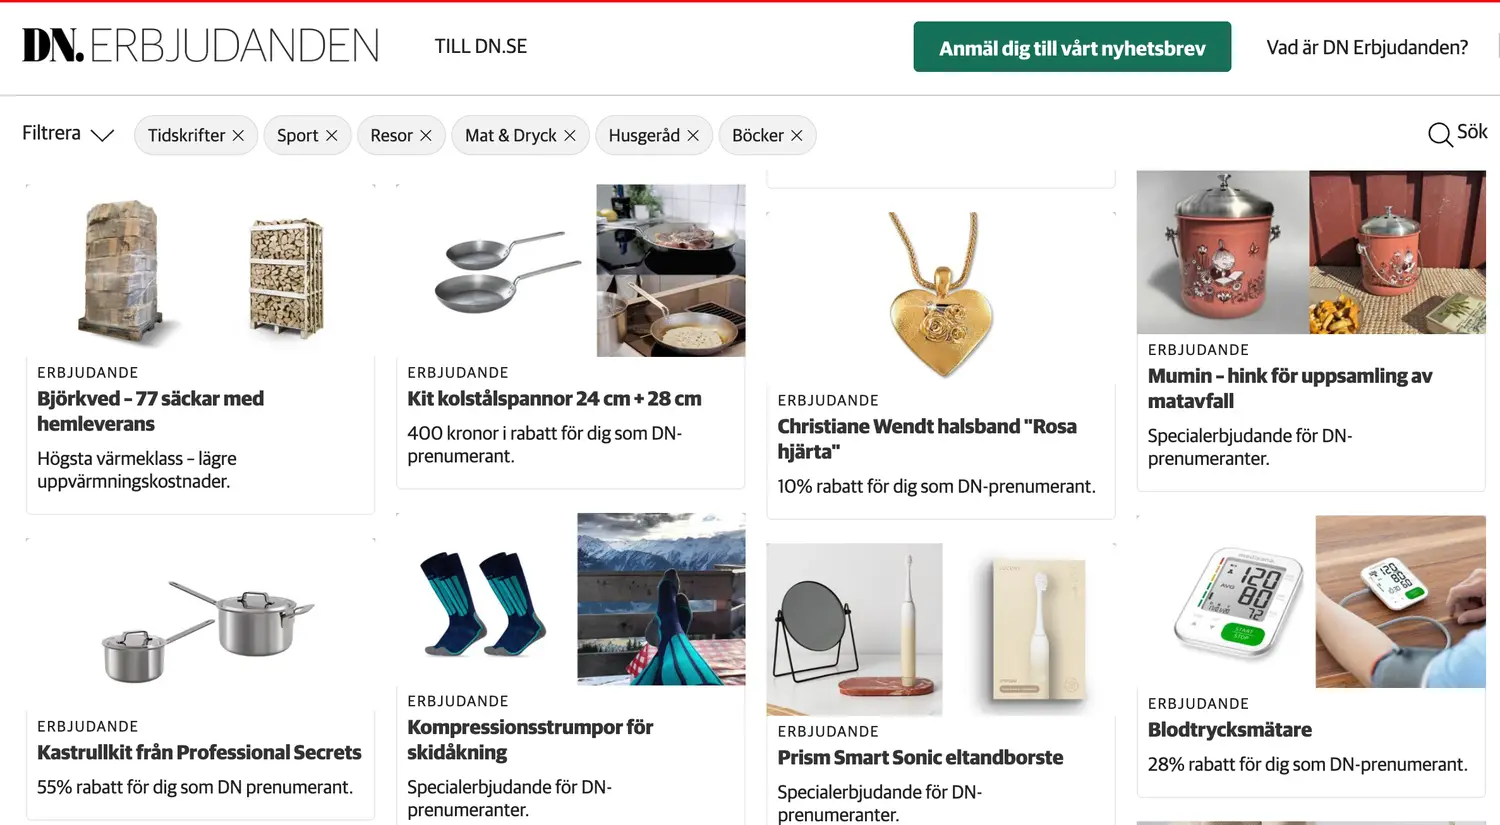
“Dagens Nyheter (DN) is one of Sweden’s largest daily newspapers, with a broad national audience across print and digital platforms. It is known for its comprehensive reporting on news, politics, economy, and culture. DN’s shop is a strong revenue channel, generating steady monthly income while engaging a loyal customer base closely connected to its newspaper subscriptions.”
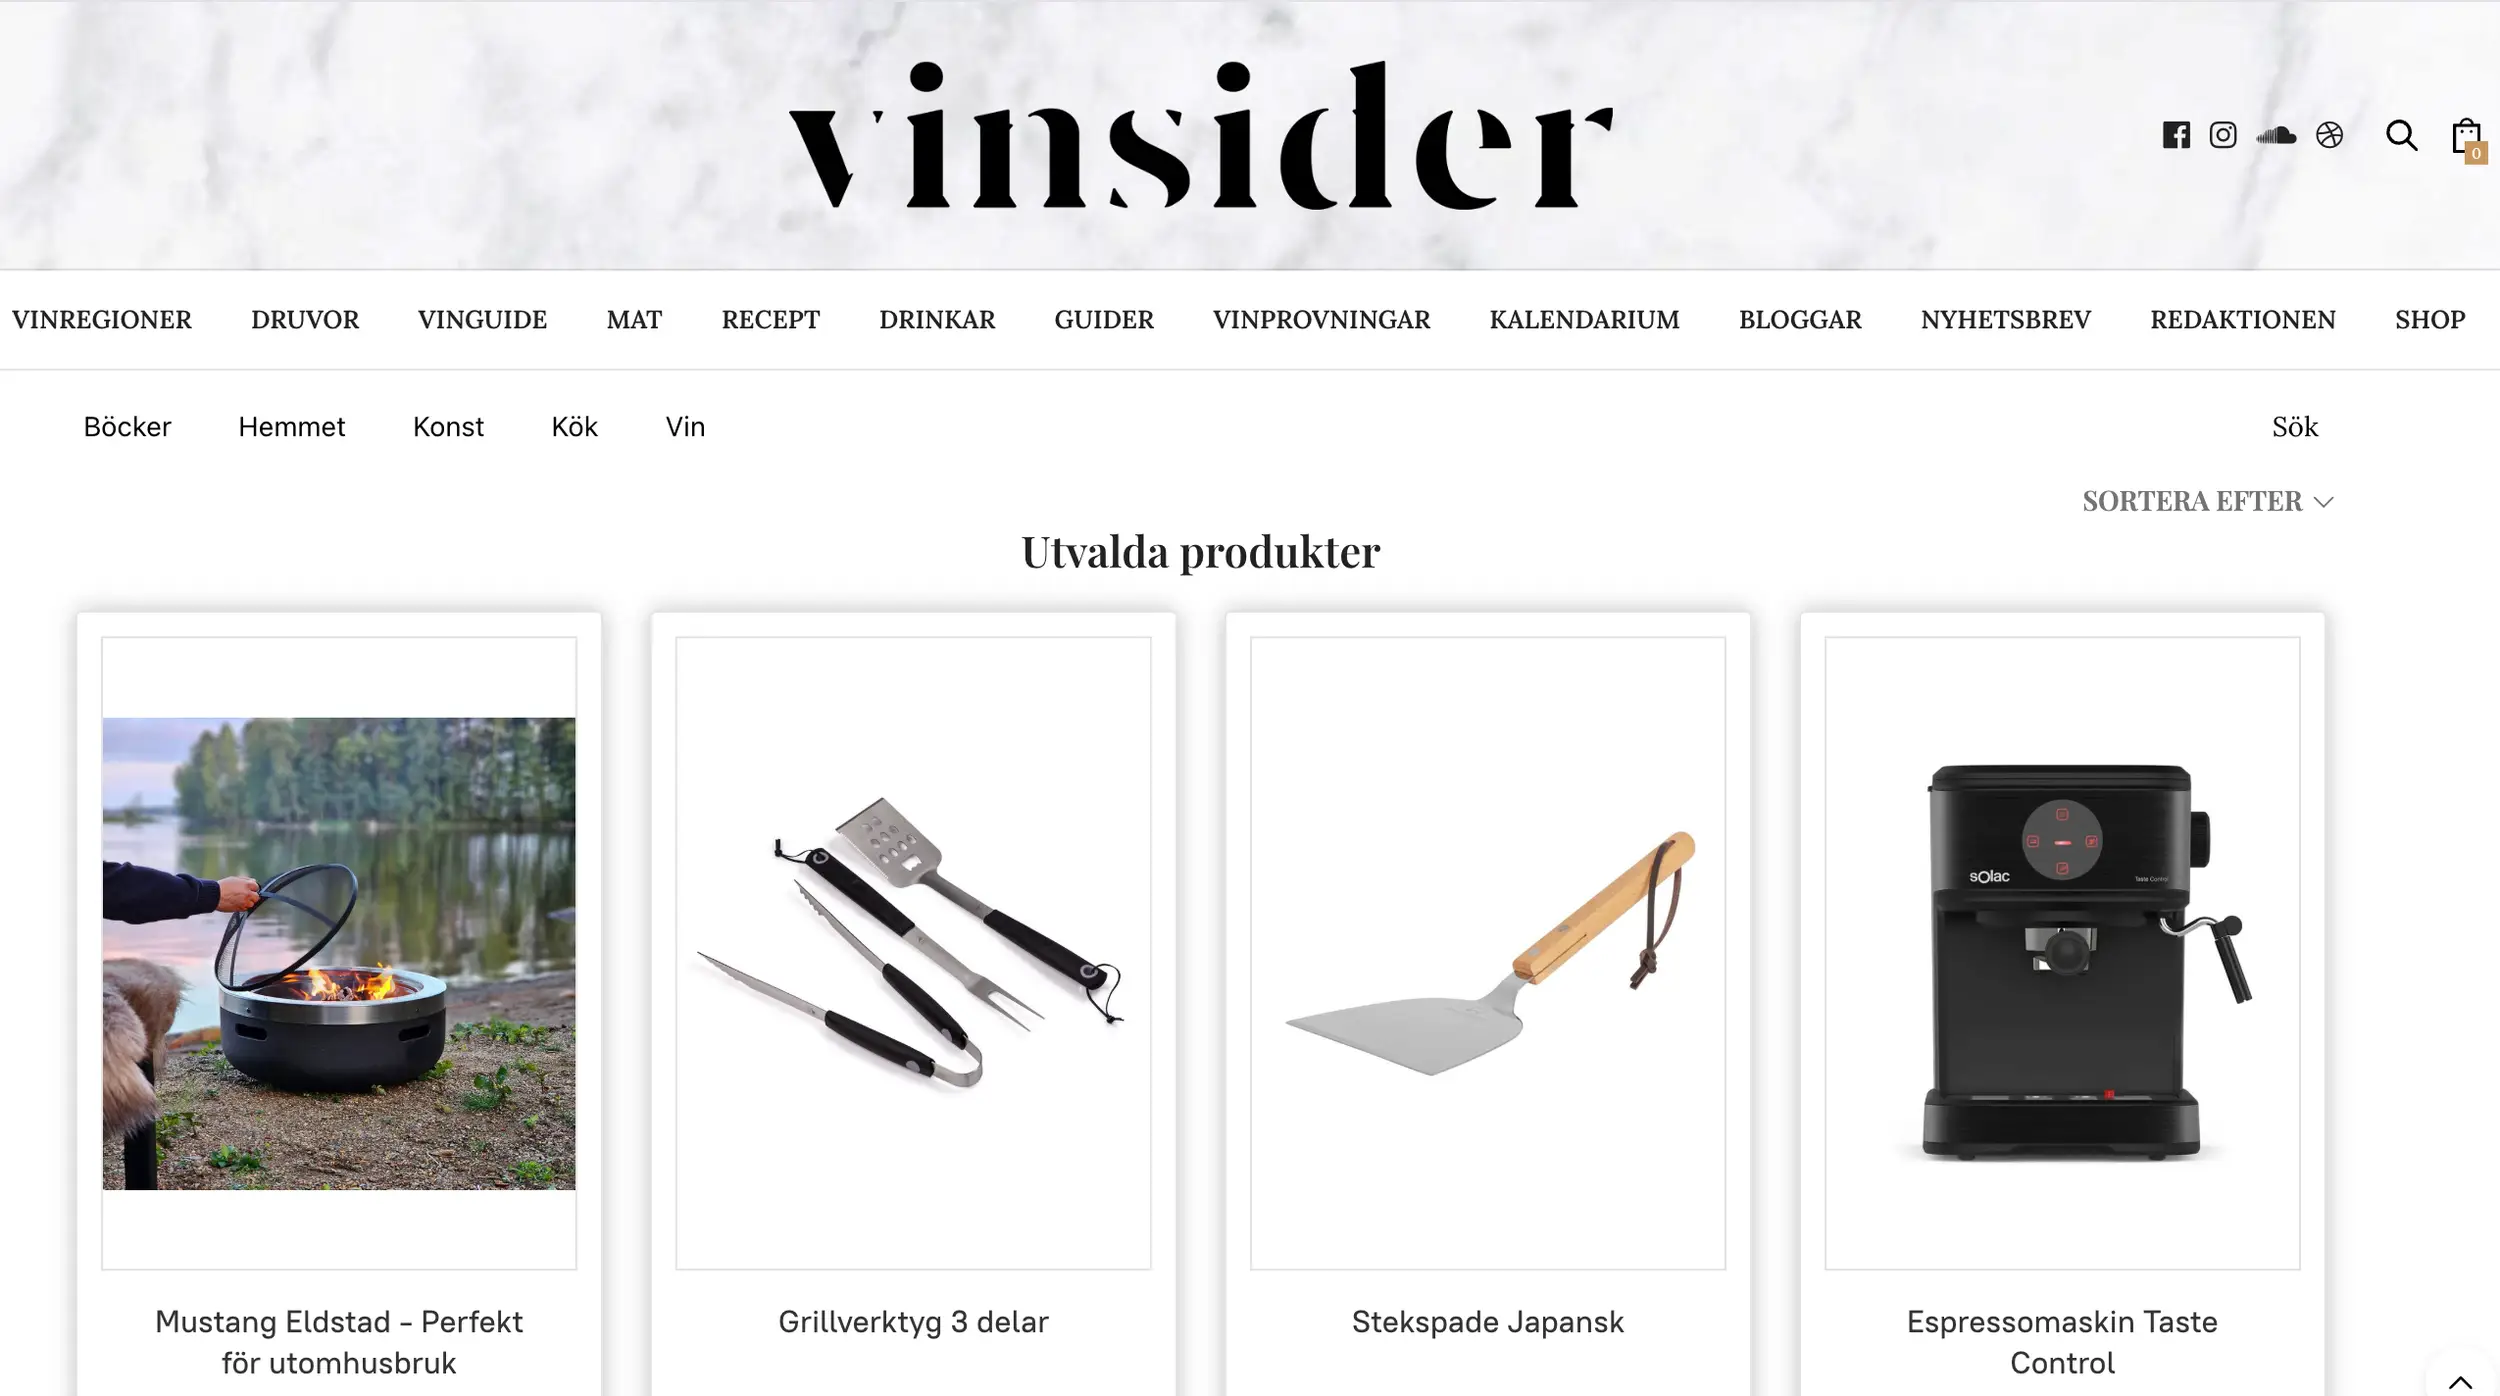
“Vinsider is a Swedish digital platform focused on wine, beverages, and food culture. It offers articles, guides, and inspiration for both beginners and enthusiasts, with a strong emphasis on wine knowledge and trends. Vinsider’s offerings create recurring revenue and attract a dedicated audience with a strong interest in wine and related content, many of whom return regularly to the platform.”
Loyative was created to help brands reach real people through trusted media.
We connect sellers with engaged audiences across leading publishers — making it simple to grow visibility and sales without upfront costs.
Loyative is built on years of experience in e-commerce, loyalty, and brand growth.
Our mission is simple: to help brands turn shoppers into loyal, returning customers through smarter and more rewarding experiences.
We collaborate with leading media houses, retailers, and wholesalers to give brands a powerful way to grow their reach, boost sales, and build long-term customer relationships — effortlessly.